Low Back Pain Exercises
Core rehab moves — ankle pumps, straight-leg raises, bridges — to ease disc pain and build support.
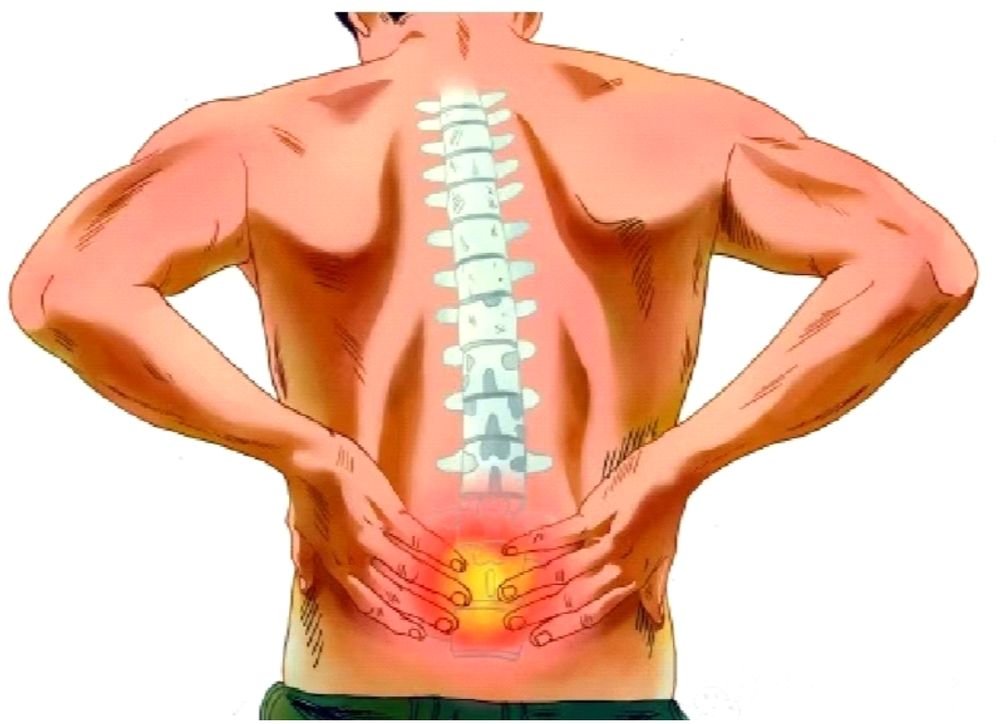
Exercises for the chronic phase of lumbar disc herniation
With a “slipped disc”, why is it that sometimes the back does not hurt but the leg does? The following may be signs of lumbar disc herniation:
- Sudden severe back pain on bending, with no obvious injury
- Pain or leg discomfort after sitting or standing for a while
- Back pain that worsens when coughing or sneezing
- Shooting numbness in the buttock, the back of the thigh, the back of the calf or the foot
- Reduced muscle strength in the lower limbs, or a sense of leg weakness
All of the above may be signs of lumbar disc herniation. If they are not effectively managed, more serious symptoms can follow. Most patients with lumbar disc herniation have both back pain and leg pain, but some have only back pain without leg pain, or only leg pain without back pain.
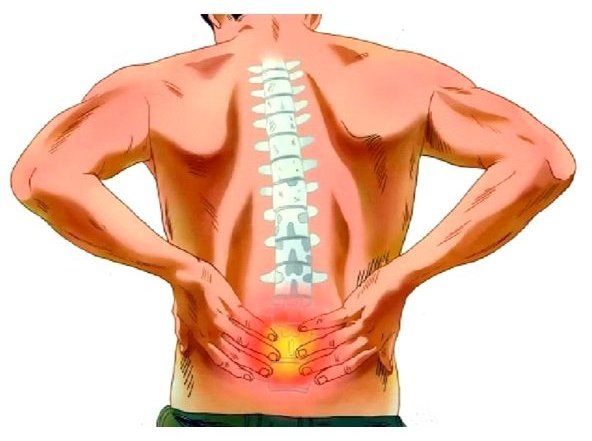
Why does bed rest relieve the condition?
During the acute onset of lumbar disc herniation, the symptoms are very pronounced and patients often cannot move freely, so they can only rest in bed. After resting for a time, the symptoms gradually ease. This is because, during strict bed rest, the back muscles are fully rested; the body’s muscles and nerves have a degree of self-repair capacity, and after a certain period of rest, muscles and soft tissues that are generally strained and tense will recover, so the symptoms are relieved.
The role of exercise therapy
For someone with lumbar disc herniation, performing targeted exercise therapy to restore the strength of the muscles of the lower back and abdomen and to maintain the stability of the lumbar spine can greatly reduce the pain and restricted movement caused by the herniation.
When many disused muscles are reactivated, the spasm of some of the small muscles around the lumbar spine is released, thereby reducing pain caused by muscle spasm. The reactivated muscles form a better balance of muscle tone, adjusting a slightly displaced joint position into a better state, and restoring joint alignment also helps reduce pain. In addition, strengthening the buttock muscles and improving the mobility of the thoracic spine and pelvis can enhance the protective capacity of the joints adjacent to the lumbar spine, reduce the load on it, and improve the normal function of the lumbar spine as far as possible.
⚠️ During an acute flare, rest should be the priority. The moves below are best done in the chronic phase, within a pain-free range; stop immediately if they provoke radiating leg pain. Never exercise blindly.
Five golden rehab moves for the lower back (with key points)
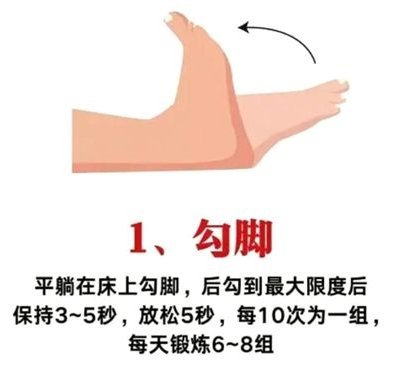
1. Toe pulls (ankle pumps)
- Purpose: promotes circulation in the lower limbs and helps prevent blood clots, while gently gliding the nerve root and easing numbness.
- Method: lying on your back or sitting, slowly and firmly pull the toes toward you as far as possible (dorsiflexion), holding for 5 seconds; then slowly and firmly point the toes (plantarflexion), holding for 5 seconds.
- Key point: keep the movement gentle, with only a slight stretching sensation, and avoid provoking radiating leg pain! 10–15 reps per set, several sets a day.
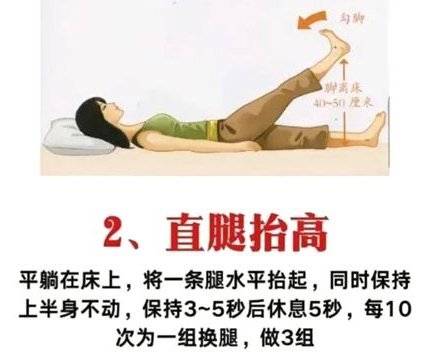
2. Straight-leg raise
- Purpose: slowly restores the gliding of the nerve root and strengthens the hip flexors, without aggravating pain.
- Method: lying on your back with one leg straight, slowly and with control raise it about 15–30 cm off the bed (only as far as it does not provoke back pain or severe radiating leg pain), hold for 5 seconds, then lower slowly.
- Key point: keep the lower back pressed firmly to the bed throughout! Stop immediately if you feel any discomfort. 5–10 reps per leg per set.
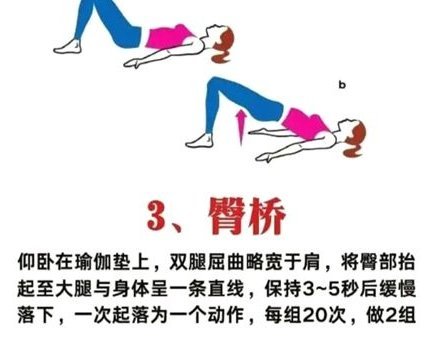
3. Bridge
- Purpose: strengthens the buttocks, the backs of the thighs and the core muscles, stabilising the lumbar spine.
- Method: lying on your back with knees bent and feet flat and hip-width apart, brace the abdomen and, using the buttocks (not the back) to drive the movement, slowly lift the hips so that the shoulders, hips and knees form a straight line.
- Key point: at the highest point, squeeze the buttocks and hold for 3–5 seconds, then lower slowly one vertebra at a time. Feel the buttocks working, and avoid pushing the back up too high, which causes discomfort. 10–15 reps per set.
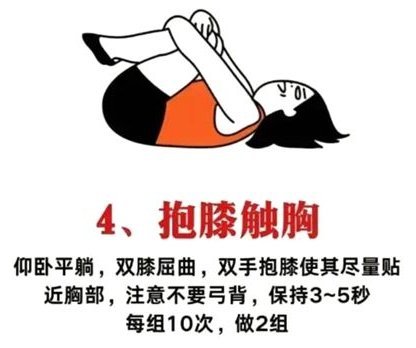
4. Knee-to-chest
- Purpose: gently stretches the muscles of the lower back and increases the space of the intervertebral foramen (requires great care).
- Method: it is strongly recommended to start with a single knee. Lying on your back, wrap both hands around one knee and gently and slowly draw it toward the chest, holding for 15–30 seconds. Keep the lower back pressed to the bed and avoid forcing the movement.
- Key point: pain-free is the rule! Stop immediately if there is any discomfort.
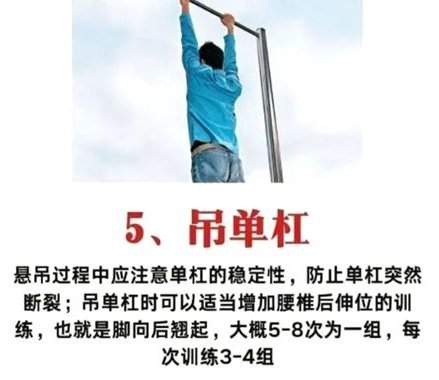
5. Dead hang
- Purpose: uses your own body weight to apply gentle traction to the spine, widening the intervertebral spaces and reducing the pressure of the herniation on the nerve.
- Method: stand under a sturdy bar and grip it with both hands.
- Key point: relax the shoulders and let the body hang naturally (with knees slightly bent), holding for 10–30 seconds. When coming down, lower your feet gently; never use momentum to swing!
Exercising consistently, together with correct posture and treatment, helps improve lumbar function and reduce recurrence; results vary from person to person and with the condition.
Wondering if this treatment suits you? Get in touch to enquire.